


We’re following up our helpful tips for National Car Care Month with the latest edition of our Gearhead Guru Series in which we highlight how to properly wash your car like a pro! You’ll find a helpful task list for the step by step process of cleaning your vehicle from the inside out. Get your daily driver road trip ready before the warm weather hits!

We’re going to start with cleaning the interior!
First, clean the interior surfaces of your car and wipe down all common surface areas which you and/or your passengers may come into contact with by using a vehicle interior safe antibacterial wipe, or a vehicle safe antibacterial spray cleaner and microfiber cloths. Make sure you thoroughly clean the following heavily touched surfaces:
- Gear Selector
- Steering Wheel
- Turn Signal Lever
- EZ-Pass/Toll Tags
- Heat and AC Vents
- Phone and Device Chargers
- Center Console and Armrest
- Windshield Wiper Lever/Controls
- Passenger Armrest and Side Pockets
- Interior Door Handles and Lock Panels
- Center Console Controls, Buttons, Dials
- All Car Keys, Remote Start Fobs, and Start Button
- Seatbelt Fabric and Fasteners and Release Buttons
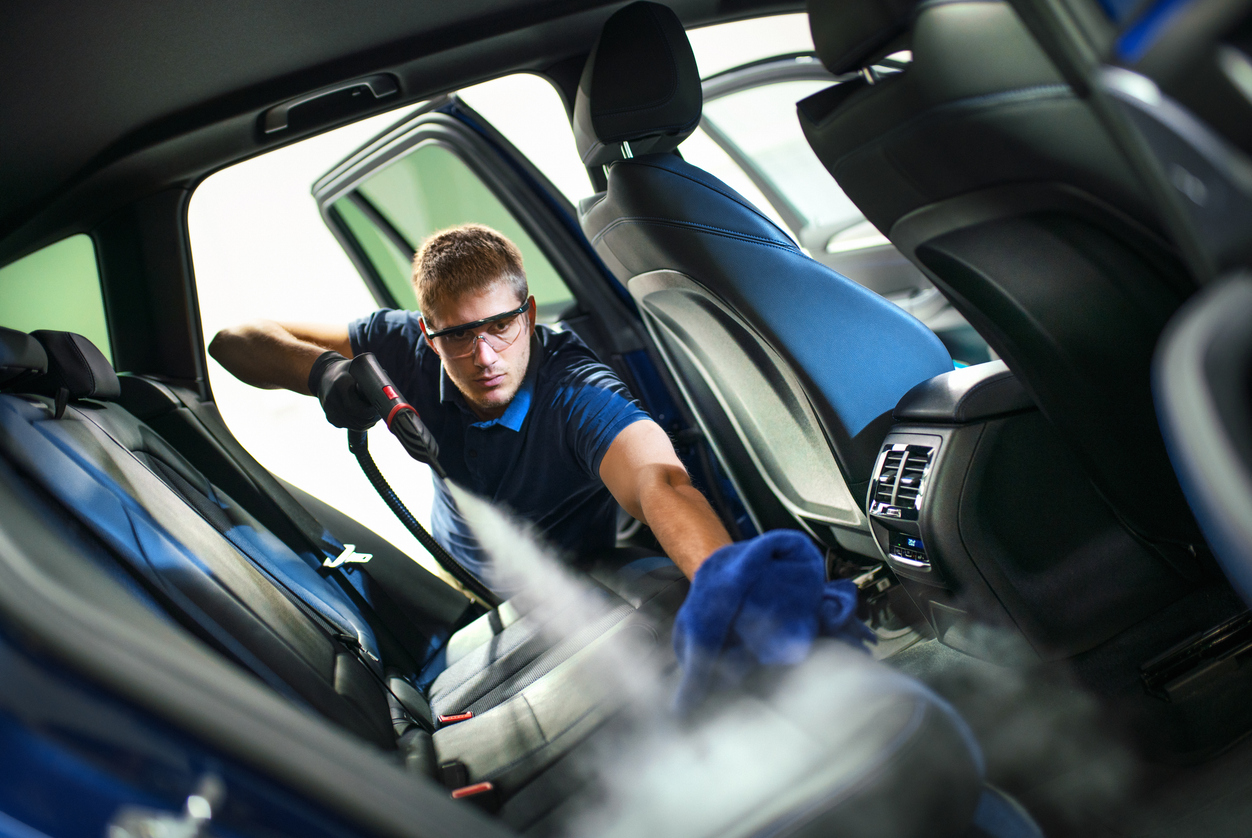
Next, remove the interior car mats and clean them outside of your vehicle. Be sure to vacuum and sanitize after removing the mats. Repeat the same process for any organizers, baskets, or small trash receptacles inside the vehicle. Follow up by removing any child or pet friendly seat covers, making sure to shake out debris and give them a thorough vacuuming outside the vehicle.
**To reduce the spread of germs and viruses, make sure you regularly wipe down all interior door handles, as well as the lock buttons, dashboard buttons, any of the pop-out drink or device holders.
After you’ve cleaned those surfaces, it’s time to apply a vehicle upholstery cleaner to the seats to help remove mold and mildew, pet dander, dust/dirt and other allergens, as well as any other grit and grime from your travels. Let it sit according to directions, and give it a thorough scrub or rub depending on your upholstery (leather, “vegan leather”, and fabric will all have different requirements.) If you have leather upholstery, now is also a great time to apply a leather protectant and conditioner to moisturize the fabric and reduce wrinkles, rips, and other damage from heat and sun exposure.
**The surfaces in your car’s interior are covered with a combination of synthetic fabrics or surfaces, natural fiber fabrics, or leathers. Typical household cleansers or disinfectants may cause discoloration to hard surfaces, damage to fabrics, or deteriorate coverings. Remember to select gentle cleansers and surfactants that are made for your specific interior coverings and fabrics so as not to cause damage.
Once it’s been scrubbed and has been allowed to air dry thoroughly, give the interior another quick vacuuming for anything you might’ve dislodged during your scrub. If you utilize a portable HEPA filter in your vehicle, this is the time to replace old filters or clean them. If you’ve not done so recently, make sure to also vacuum the air filter for your car’s HVAC system to improve performance.
Now it’s time to reinstall the floor mats, seat covers and car seats, and any other accessories you removed during the process over the clean, dry interior. To keep your car’s fresh clean scent, you may opt to spray the interior with an automotive fabric refresher, or add an air freshener or place scented HVAC vent clips around the vehicle.

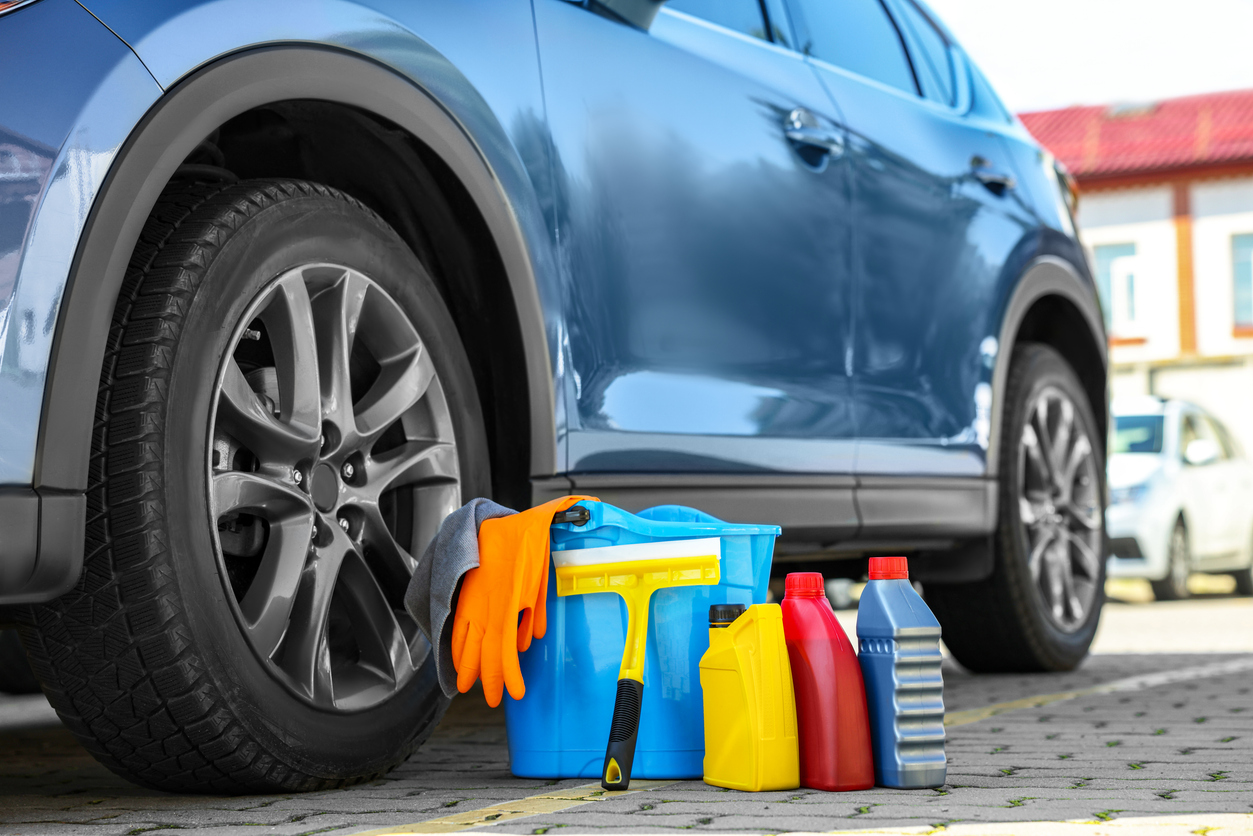
Let’s close the doors and get to cleaning the exterior of our vehicle!
First, ensure that your vehicle is parked in a shady spot to reduce evaporation of cleaning solution and water, as well as protecting vehicle waxes and seals before they’ve cured.
Next, gather your cleaning supplies and set up the 2 Bucket Method. Second, gather vehicle-friendly items such as microfiber washing mitts, microfiber cleansing cloths, and vehicle specific cleansers (avoid using dish soaps and other household cleaners.) Place these items on an easily accessible and clean, dry surface so they don’t lie on the ground during the washing process and pick up more dirt.
**We recommend using the “2 Bucket Wash” method to ensure a scratch free clean. You’ll need two large buckets: one will be filled with water and a vehicle safe cleaning solution, the second will be filled with clean water to be utilized for washing your cleaning mitt or microfiber pad. This method ensures that dirt and debris do not contaminate the cleaning solution, and thus will not be reintroduced to the vehicle’s paint surfaces. If the rinse bucket starts getting too dirty, dump and replace the water; we recommend doing this between each segment of your vehicle (top, windows, mid-section, bottom and wheels, etc) This will help you to maintain your vehicle’s paint coat with less scratches and swirls.
Then, give the vehicle a complete spray starting from top to middle to bottom as a quick rinse down.

We’ll begin our washing process by thoroughly cleaning the vehicle’s wheels with a specialized tire soap. Using specially formulated cleansers for each area of your vehicle will ensure you’re removing the most dirt and grime, and protecting the vehicle’s components. Make sure to thoroughly scrub the wheel wells, tires, and any accessories or wheel covers. Rinse thoroughly! If you notice any overspray has reached the rest of your vehicle, give that a quick rinse before moving on to the next step.

You want to wash the rest of your vehicle from the top down, as the bottom is always the dirtiest! We don’t want to transfer that gross dirt and buildup to the rest of the vehicle. Plus, we can use gravity to our advantage! You’ll want to thoroughly suds up the roof and top components of your vehicle (roof rack, sun roof/moon roof, etc), and work your way down with gentle rubbing motions. Let the solution thoroughly penetrate dirt and buildup as per the directions on the bottle. Remember to rinse your mitts and cloths in the water-only bucket and not the cleansing solution!
Rinse the vehicle thoroughly and perform a quick visual inspection to ensure you were enable to remove any buildup. Re-clean the areas you may have missed with the above methods and rinse again.
Walk around and inspect your vehicle for any signs of rust, scratches, or dents. You can fill in minor cosmetic blemishes with vehicle-match paint that comes in options like pens for small areas and small paint cups for larger patches. In a pinch, you can also apply nail polish as a budget friendly alternative.
When cleaning the glass and mirrors of your vehicle, make sure you choose a specialty car glass cleaner to avoid any reduction in visibility due to residue or build up. Consider adding a hydrophobic coating to your vehicle’s windows and windshields as well for improved visibility during inclement weather.
Once the vehicle has been cleaned, rinsed, inspected, and paint repairs allowed to dry, it’s time to add a protective wax or seal of your choice.
Once the wax and sealant and hydrophobic coating has cured, you’ll be ready to hit the road!
![[Facebook]](https://www.classicdirecttoyota.com/blogs/293/wp-content/plugins/bookmarkify/facebook.png)
![[LinkedIn]](https://www.classicdirecttoyota.com/blogs/293/wp-content/plugins/bookmarkify/linkedin.png)
![[Twitter]](https://www.classicdirecttoyota.com/blogs/293/wp-content/plugins/bookmarkify/twitter.png)
![[Yahoo!]](https://www.classicdirecttoyota.com/blogs/293/wp-content/plugins/bookmarkify/yahoo.png)
![[Email]](https://www.classicdirecttoyota.com/blogs/293/wp-content/plugins/bookmarkify/email.png)
Connect with us


- 2026 Toyota Camry: Hybrid Performance That Just Works for Everyday Driving
- All-New 2027 Toyota Highlander: The Electric SUV for Illinois
- Top 5 Features of the 2026 Toyota 4Runner That Conquer Illinois Winters
- Celebrate the Holidays by Gifting a Road Trip to the Michigan Ice Fest 2026!
- Extending the Spirit of The Giving Season: Great Ways to Give Back to the Community For the Holidays (Lake County, Waukegan Area)